Affiliate disclosure: TimewasterAI may earn a commission when you purchase through links on this page, at no additional cost to you.
You want to make a product video.
You already have a phone. Then you start looking at creator setups online and suddenly it seems like you need a camera, studio lights, microphones, tripods, turntables, backdrops, and roughly half a film studio.
You probably don’t.
For TikTok videos, YouTube Shorts, UGC, affiliate videos, simple product demonstrations, and everyday social content, the smartest beginner setup is usually much simpler: start with what you already own and upgrade only when something is actually holding your videos back.
This guide separates the equipment you need to start from the gear that can wait.
Quick Answer: What Do You Need to Make Product Videos at Home?
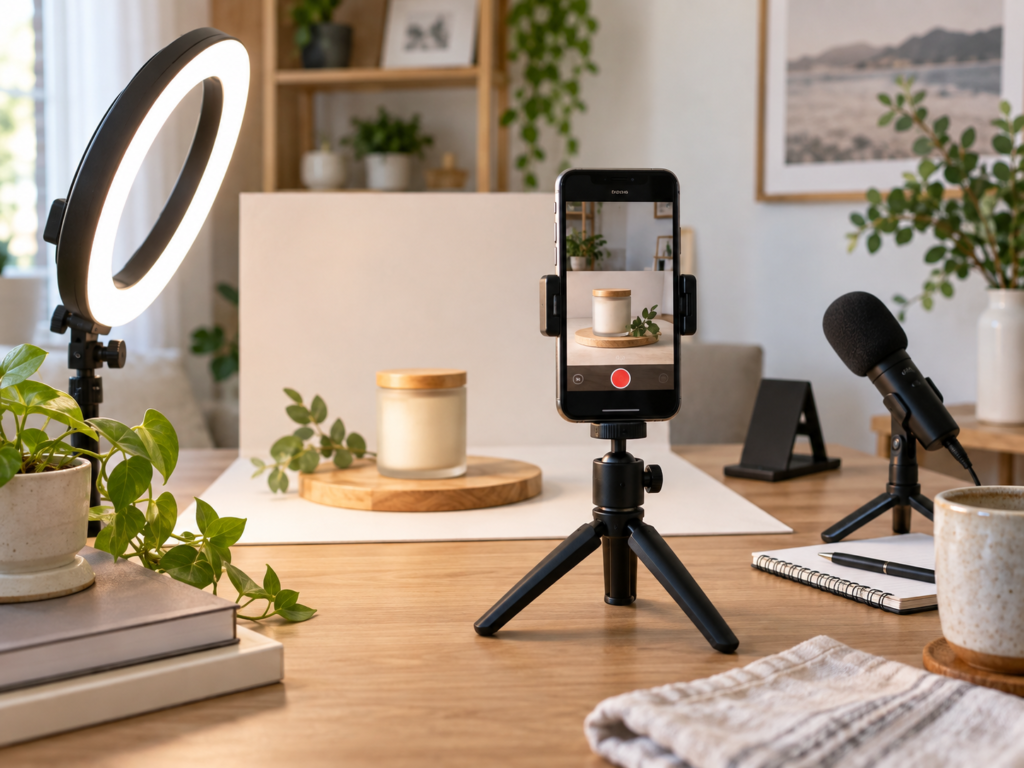
Most beginners can start making decent product videos at home with a smartphone, a stable place to put it, decent light, clean audio when speech matters, a simple uncluttered background, and basic editing software.
That’s the setup.
A tripod or phone mount is usually the first useful hardware upgrade because it makes repeatable, steady shots easier. A dedicated light can help when window light is unreliable. An external microphone starts making sense when spoken audio is an important part of the video.
Overhead mounts, turntables, multiple lights, interchangeable-lens cameras, expensive lenses, professional backdrops, and complicated audio systems are upgrades for specific problems. They are not admission tickets to making product content.
Start With What You Have
Before ordering creator gear, make one or two videos with equipment you already own.
Your current smartphone may already handle the most important job: recording the product clearly. Instead of immediately replacing it with a dedicated camera, concentrate on what happens around the phone.
Use a Window as Your First Light
Place a table near a window and experiment with positioning the product so the light falls across the front or side of it. Soft daylight can be perfectly usable for simple demonstrations, unboxings, close-ups, and talking-head clips.
Avoid assuming that brighter automatically means better. What matters is being able to see the product clearly without distracting shadows, blown-out highlights, or constantly changing exposure.
Use a Table or Clean Surface
You do not need a photography table to photograph a bottle, keyboard, gadget, kitchen tool, beauty product, or other small item.
A desk, kitchen counter, dining table, shelf, or plain piece of poster board may be enough. Clear away anything that competes with the product for attention.
Find the Quietest Room You Can
If you’re speaking on camera, reduce the noise before buying equipment. Turn off a loud fan when practical, close the door, move away from a television, and avoid recording beside a running dishwasher or air conditioner.
Changing the room can sometimes improve a recording more than buying another accessory.
Start With Basic Editing Software
You need a way to trim clips, arrange shots, adjust basic levels, and prepare the video for the platform where you’re publishing it. Beginners can start with a free or basic editor that supports the workflow they actually use.
You don’t need an elaborate editing suite just because professional creators use one.
Your first product video can cost $0 in new gear. Make the video first. See what goes wrong. Then decide whether equipment would actually fix the problem.
Best Lighting for Product Videos
What it solves: Helps when window light is inconsistent or your filming space is too dark.
Best for: Creators filming product demos, TikToks, Shorts, UGC, and tabletop content indoors.
Skip it if: Natural window light already gives you consistent results.
Check on AmazonBest Microphones for Beginner Creators
What it solves: Improves spoken audio when your phone microphone is not clear enough.
Best for: Talking-head videos, tutorials, UGC, and voice-based product demonstrations.
Skip it if: You rarely speak on camera or your phone audio already works well in a quiet room.
Check on AmazonRing Light or Compact LED Light
What it solves: Gives you more predictable lighting when natural light changes throughout the day.
Best for: Small-space creators, desk setups, product demos, and face-to-camera content.
Skip it if: You only film during the day near a good window.
Check on AmazonMicrophone
What it solves: Helps make speech easier to understand when distance or room noise becomes a problem.
Best for: Voice-heavy UGC, demonstrations, tutorials, and product reviews.
Skip it if: Your content relies mostly on captions, music, or voice-over recorded separately.
Check on AmazonOverhead Arm
What it solves: Makes top-down filming easier for hands-on demonstrations and tabletop content.
Best for: Product demos, crafts, desk accessories, food prep, packaging, and hands-in-frame videos.
Skip it if: You rarely need overhead shots.
Check on AmazonSmall Tabletop Background / Turntable
What it solves: Helps create cleaner product shots and more repeatable tabletop presentations.
Best for: Small products, product showcases, rotating product shots, and simple home studio setups.
Skip it if: A clean table, poster board, or plain background already works for your videos.
Check on Amazon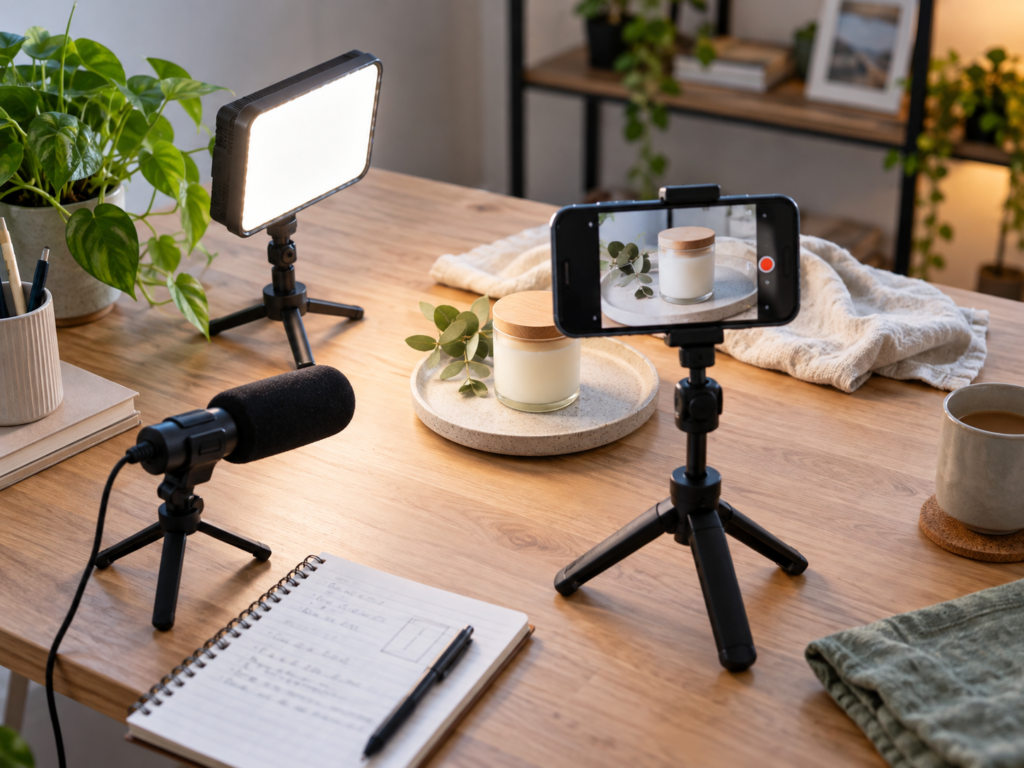
The First Upgrade: Keep the Phone Steady
If your phone keeps sliding, leaning against coffee mugs, falling over, or changing position between takes, you’ve discovered a real equipment problem.
This is where a phone tripod, stand, or secure mount can become useful.
Stability matters because product videos often use several short clips of the same item. A fixed phone position makes those shots easier to repeat and keeps unwanted shaking from distracting from the product.
Who Needs a Phone Mount?
A mount is useful for creators who film themselves demonstrating products, need both hands in the frame, record repeated tabletop shots, or regularly switch between filming and repositioning products.
You can skip it for now if you rarely film, handheld footage suits your style, or you already have a safe and repeatable way to support your phone.
Buying consideration: Check that any mount you choose fits your phone and case, provides the positioning you need, and works with the orientation you normally film in.
Lighting: Use Free Light Until It Becomes a Problem
Window light is a sensible starting point because it costs nothing and can produce clean-looking footage.
Its biggest weakness is consistency.
If you can only record at night, your room is dark, weather changes the look between clips, or you need to film in the same location at different times of day, dedicated lighting becomes easier to justify.
A compact LED light, ring-style light, or another simple continuous light may help solve that problem. The important part isn’t owning a particular type of light. It’s getting predictable illumination where you need it.
Before buying, consider where the light will sit, how large your filming area is, whether you need to move it frequently, and whether the light gives you enough control for your space.
If window light already gives you the look you want, keep using it.
Audio: When Is Your Phone Microphone Enough?
Not every product video needs a microphone.
If your video uses music, captions, a separately recorded voice-over, or very little speech, an external mic might add equipment without solving much.
Your phone’s built-in microphone may also be adequate when you’re close to the phone and recording in a reasonably quiet space.
When an External Microphone Starts Making Sense
Consider an external microphone when you regularly make talking-head videos, spoken product demonstrations, voice-heavy UGC, tutorials, or recordings in rooms where distance and background noise make your speech difficult to understand.
Compatibility matters here. Before buying a microphone, confirm that it works with your phone or recording device and that you have any connection or adapter the setup requires.
Don’t buy a microphone merely because a creator desk looks more impressive with one.
Product Shots: Keep the Setup Simple
A basic tabletop setup can handle a surprising amount of product content.
Place the product on a clean surface, stabilize your phone, position your light, and record several useful angles. You might capture a wide shot, a closer view, a detail shot, the product being held, and the product performing whatever function viewers need to understand.
When Overhead Filming Helps
An overhead mount becomes useful when your content repeatedly needs a straight-down view. Examples include demonstrations with your hands, small gadgets, crafts, desk accessories, food preparation, packaging, or products with controls on top.
If you make one overhead clip every six months, improvising a safe setup may be more sensible than buying dedicated equipment.
What About Product Turntables?
A rotating display can create consistent rotating product views, but it is optional. It makes more sense when rotating shots are a recurring part of your content than when you’re simply trying to make your first affiliate video.
The same rule applies to specialty arms, cages, clamps, sliders, and other creator accessories: wait until you can identify the shot you cannot easily get without them.
Your Background Can Be Something You Already Own
A good background doesn’t necessarily mean a purchased backdrop.
Try a plain wall, clean desk, kitchen counter, uncluttered shelf, neutral fabric, poster board, or another simple surface appropriate for the product.
The goal is not to make the background interesting. The goal is to stop it from stealing attention from what you’re demonstrating.
A dedicated backdrop becomes useful when you need a repeatable visual style, cannot find a clean filming area, regularly photograph products from wider angles, or need to separate your subject from a distracting room.
Three Product Video Setups for Beginners
Level 1: Use What You Have
- Your current smartphone
- Window light
- A table or other clean surface
- A quiet room
- A free or basic editing app
Start here. This setup lets you learn framing, lighting, pacing, demonstrations, hooks, and editing before spending money on equipment.
If you can make the videos you want with this setup, there is no requirement to move to Level 2.
Level 2: Simple Beginner Setup
- Smartphone
- Phone tripod, stand, or mount
- Compact dedicated lighting if natural light is unreliable
- Optional external microphone when spoken audio matters
- Simple existing background
- Basic editing software
This is the logical upgrade when stability, inconsistent lighting, or unclear speech has become a recurring problem.
You still don’t need a dedicated camera or full studio.
Level 3: Creator Upgrade
- More flexible phone or camera mounting
- More controllable lighting
- Cleaner external audio when needed
- Optional overhead mounting for repeated top-down demonstrations
- Optional product-filming accessories for shots you make regularly
Level 3 should be built around your workflow rather than somebody else’s shopping list.
If you’ve made enough videos to know that repositioning your phone wastes time, improve the mounting setup. If lighting changes ruin continuity, improve the lighting. If viewers struggle to hear you, improve the audio.
If you can’t explain what problem a piece of gear solves for your videos, you probably don’t need it yet.
That rule can save beginners a lot of money and a surprising amount of desk space.
What You Probably Don’t Need to Buy Yet
Creator gear becomes expensive quickly because almost every accessory can be useful in some situation. That doesn’t mean it will be useful in yours.
Most beginners should think carefully before buying:
- An expensive mirrorless camera
- Multiple studio lights
- Expensive interchangeable lenses
- A professional studio backdrop system
- A complicated multi-component audio system
- Large collections of mounts, cages, arms, clamps, and accessories
None of those products are inherently unnecessary. They simply solve more specialized problems.
A dedicated camera, for example, can provide capabilities that eventually matter to some creators. But buying one before you’ve learned basic lighting, composition, product positioning, and editing doesn’t automatically make the content better.
Upgrade When You Can Name the Limitation
Instead of asking, “What creator gear should I buy?” ask, “What is stopping me from making the video I want?”
If the answer is shaky footage, investigate a mount.
If the answer is inconsistent lighting, investigate a controllable light.
If the answer is difficult-to-understand speech, investigate your recording environment first and an appropriate microphone second.
If the answer is that you cannot safely and conveniently record overhead demonstrations, investigate an overhead mounting solution.
If you don’t have an answer yet, make another video.
A Simple Upgrade Order
- Make videos with what you own.
- Fix your technique and filming environment for free where possible.
- Identify the limitation that keeps appearing.
- Buy one tool that directly addresses that limitation.
- Use it long enough to find out whether another limitation actually matters.
This approach builds a creator setup around your real content instead of around a picture of somebody else’s studio.
FAQ
Can I Make Product Videos With Just My Phone?
Yes. A smartphone can be enough to begin filming product demonstrations, short-form videos, UGC-style clips, affiliate content, and social videos. Good lighting, steady framing, a clear demonstration, and useful editing often matter more to a beginner than immediately buying a dedicated camera.
Do I Need a Ring Light?
No. Start with available window light if it works for your space and schedule. A ring light or another dedicated continuous light becomes more useful when you need consistent lighting regardless of the weather, room, or time of day.
Do I Need an External Microphone?
Not necessarily. Your phone’s microphone may be enough for close-range speech in a quiet environment. An external microphone becomes more useful when spoken audio is central to your videos and your existing setup consistently produces unclear or distracting sound.
What Should I Buy First?
Buy whatever solves the first recurring problem you encounter. For many creators that will be a stable phone mount, but it isn’t automatically the right first purchase for everyone. If your phone is already stable and your main problem is filming after dark, lighting may deserve attention first.
Do I Need a Professional Camera?
No, not to start. Learn what your current phone can do before deciding whether a dedicated camera solves a problem that matters to your content.
How Much Gear Should a Beginner Buy?
As little as necessary. Start with your phone and environment, then add equipment individually when you can identify the specific problem each purchase will solve.
What Equipment Do I Actually Need for TikTok or YouTube Shorts?
At minimum, you need a device capable of recording video, enough light to see the subject clearly, a reasonably stable shot, understandable audio when speech is involved, and software that can prepare the finished video for publishing. Much of that may already be in your pocket and your home.
Build the Setup Around the Videos You Actually Make
The easiest way to overspend on creator gear is to build the studio before building the habit.
Start with your smartphone. Find decent light. Clean up the background. Stabilize the phone using what you safely have available. Record somewhere reasonably quiet. Edit the footage with software that fits your current skill level.
Then publish something.
Your first few videos will teach you far more about what equipment you need than a giant creator-gear shopping list will.
When a real limitation appears, solve that limitation. Nothing says you have to own every creator accessory between your phone and the record button.
Your Next Step
Make one product video with your current setup. Write down the single biggest problem you encounter. That’s the problem your first upgrade should solve.